Tuesday, November 18, 2008

Finally....

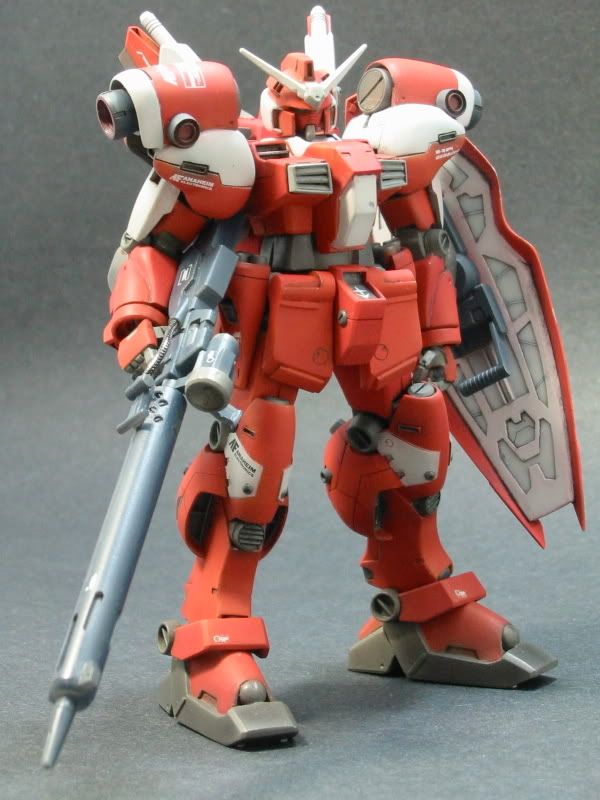
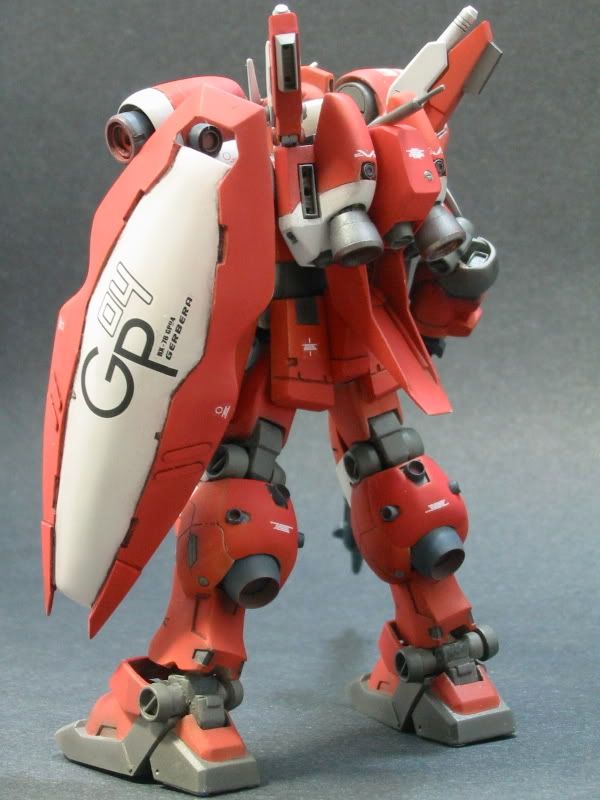
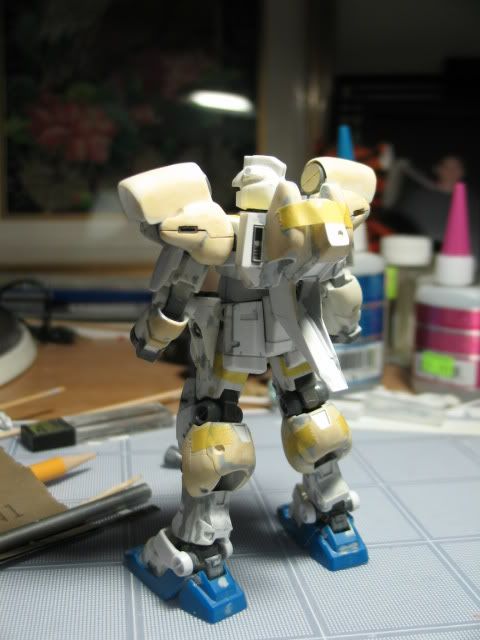
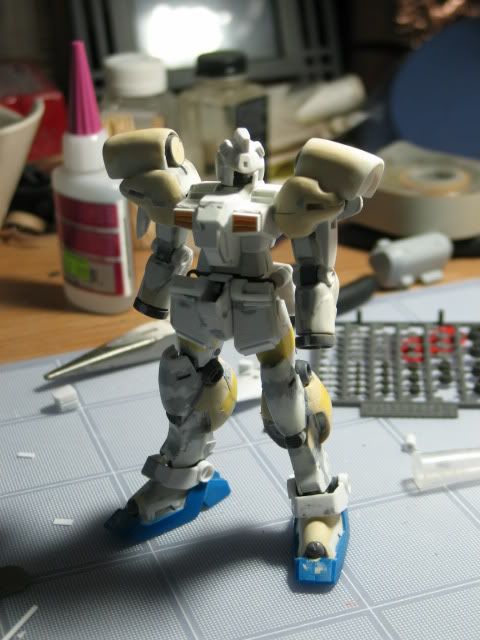
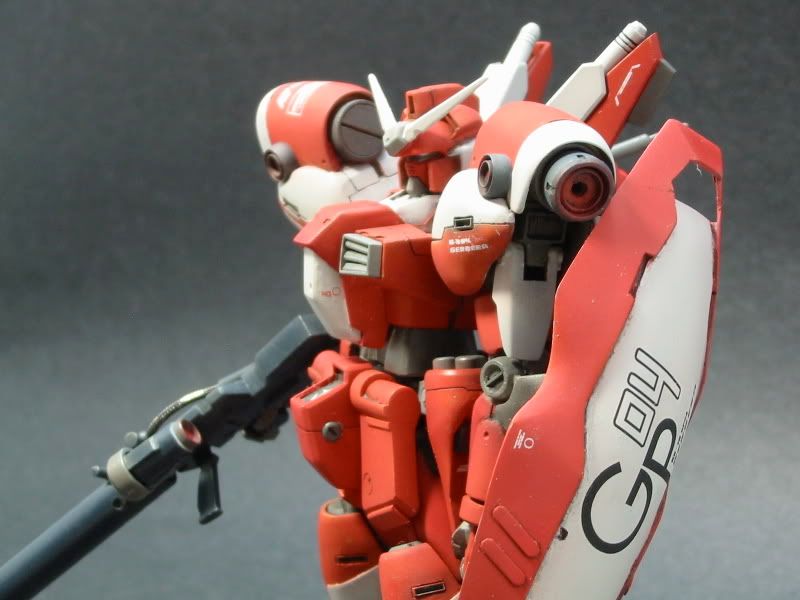
Well, it's finally done. This project started in the spring break of 2004. It felt good to finish some gunpla after two babies and a PhD. I hope to finish more off my table.

The paint scheme is red on gray high lights. The red are done by preshading a red with orange tint by RLM 23 red. The two are too similar to see much of a shading. I will try this color again in the future. The gray color is basic gull gray.

I had much trouble washing and applying decals. The acrylics coat gets attacked by both the Mr. Softener and the Testor enamel airbrush thinner. I found the regular Testor thinner is weaker, which will leave the acrylic coat intact. A final flat clear coat is applied to protect the paints.

Photobucket

Photobucket

Photobucket

Photobucket

Photobucket


The camera I use to take the picture has a short working distance, which distorts the proportion. The pins that connects the sturm units to the backpack broke so I decide to leave it for now. Will fix it and take more pictures later.

Sunday, October 16, 2005

shield

Some people asked me to provide some details of scratch build so here it is. I will be building the original design shown here.
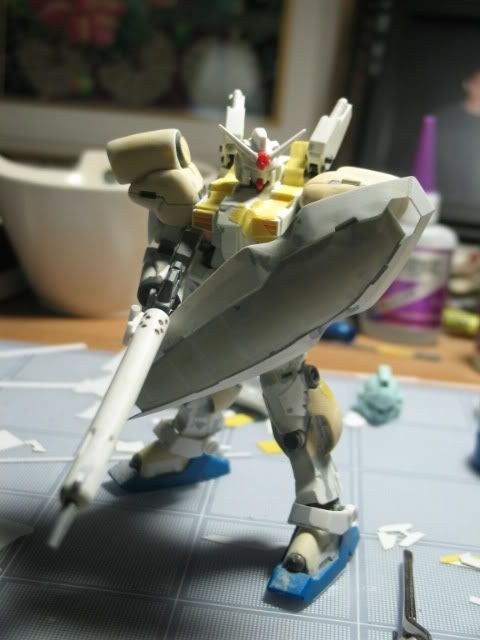
Image hosted by Photobucket.com

First step of a scratch build is to decide how to structure it. I will first build a base plate. Putty is used to build the curved surface in the center. Then the two sides are constructed.

Base plate:

I drew how the back of the shield would look like (base plate with the two sides) on a sheet of engineering paper with pencil. Left and right sides balance out. Then tape masking tapes onto the drawing and scratch it with your thumb nail to make sure the tape really sticks the pencil lead. Then strip the tapes and you will see the drawing is transfered onto the tape.
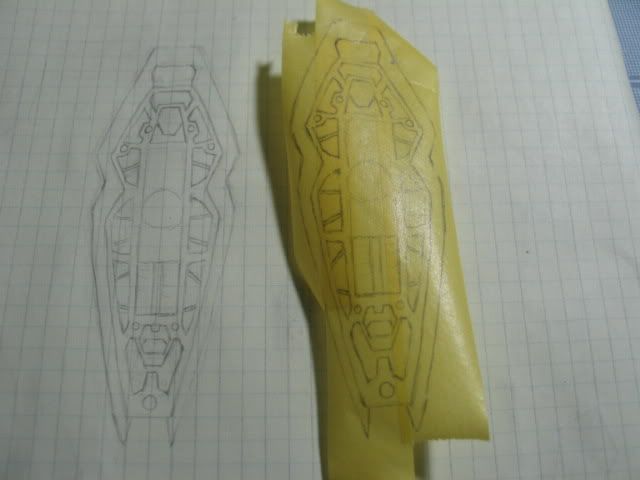
Image hosted by Photobucket.com

Transfer the tape onto a plastic sheet and start cutting out the shape you need. Always start with the largest shape. Here I cut out one entire shield shape, then cut two base plate shapes. The entire shield shape will be used for building the sides. The first base plate serve as the base structure. Notice I also scribe lines on the first plate for details. I then cut out all the small details from the second plate to create the struct design.

Image hosted by Photobucket.com

Image hosted by Photobucket.com

Image hosted by Photobucket.com

Curved center:

Glue the two plates together and leave it for several minutes to ensure good adhesion. Sand the back of the first base plate to roughen the surface and apply epoxy putty to create the curved surface. Epoxy putty shrinks and the base plate will curve upward (toward the puttied side) if no cuts are made on the putty shown below.
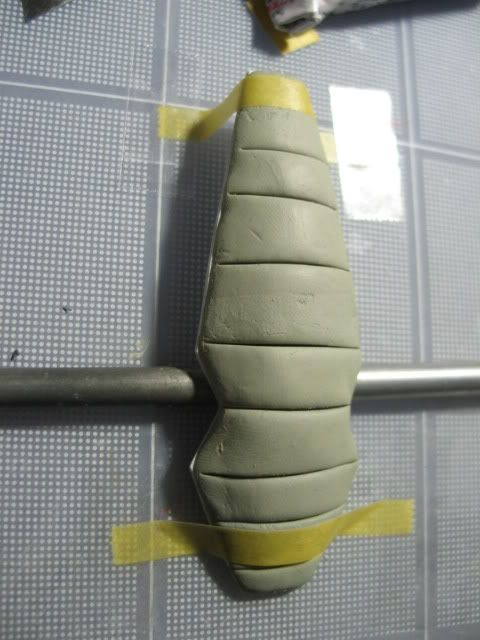
Image hosted by Photobucket.com

During curing, I take a rod and tape the curved surface on the top and bottom so the structure curves down. Once cured the structure remains curved toward the plate side.

Sides:

Take the entire shield shape and draw the side as it will appear on the front side of the shield. Notice I draw only the left side and make a cut out for it.
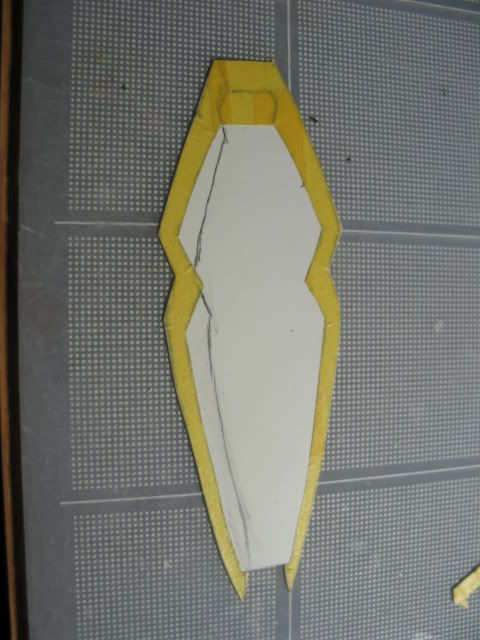
Image hosted by Photobucket.com

Use masking tape to make a copy of the shapes on both sides then cut the plastics using the masking tapes as guide.
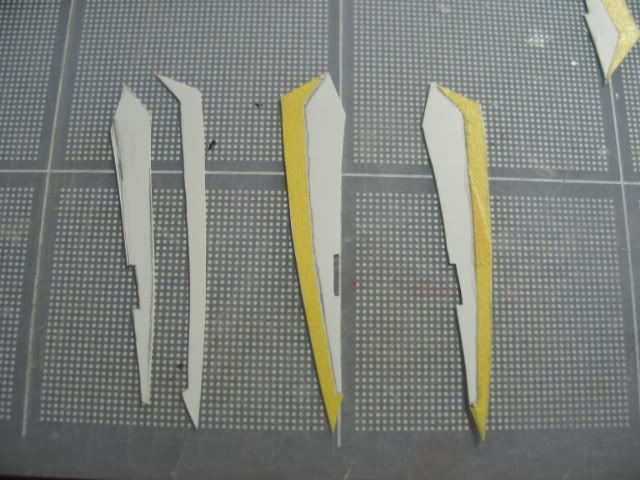
Image hosted by Photobucket.com

Tape the masking tape on the curved center evenly and mark out the position with pencil then glue the actual plastic sides.

Image hosted by Photobucket.com

Finally, fill the cuts in the center. Once the putty cured, use hobby knive and emory board to round out the center.
Thursday, September 29, 2005

BFG

The gun is one of the distinct features of the GP-04 and I can't say no to big guns. The only change I made is the stock of the gun. The barrel are made from two styrene tubes. The hardest thing is scribe the mid lines on the outer tube. Once this is done, it serves as a reference. I take a piece of tape 1cm long and 6mm wide and mark out the mid line of the tape with fine tip gundam marker. The location of the minus molds are from the mid line. Aligning the mid line of the tape with the mid line of the barrel to transfer the location of the minus mold.

Image hosted by Photobucket.com

Image hosted by Photobucket.com

Image hosted by Photobucket.com

Saturday, September 17, 2005

sturm units

Extra engines and nozzles are added to help the propulsion when sturm units are added. I tried to limit the weight by using styrene sheets to build the hollowed structure before using the putty to fill in the corners. The tanks are still too heavy for the knee joints so I have to add two more tanks below the backpack for support like the Hi-Nu Gundam.

Image hosted by Photobucket.com

Image hosted by Photobucket.com

Saturday, September 03, 2005

Stabilizer/Saber holder

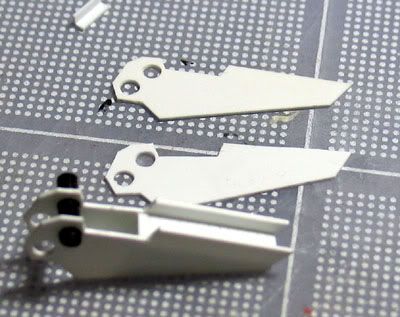
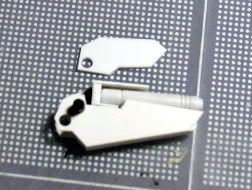
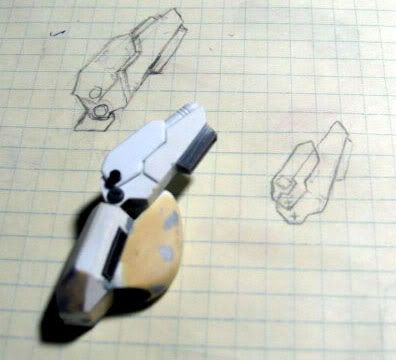
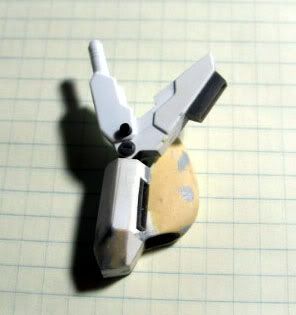
I am not quite sure why I made a new stabilizer. I do prefer the triangle shape over the rectangular stabilizer of Mk-II. However, I felt the design need more detail. I actually took pictures of the build. Surprise!!

Image hosted by Photobucket.com

Image hosted by Photobucket.com

Image hosted by Photobucket.com

The saber holder is hinged to the stabilizer with a 2mm poly rod I cut from the spruse of a Kotobukyia MSG. A T joint connects the stabilizer and the backpack.

Image hosted by Photobucket.com

Image hosted by Photobucket.com

Friday, September 02, 2005

experimental backpack

I did not like the GP-04 backpack. The double nozzle and the stablizer designs are too close to the Gundam Mk-II. I figure, if the MS is designed by a zeon engineer, why not make it more similar to the GerberaTetra design. So, in place of the third sturm unit under the backpack, I made a large nozzle. I still kept the two side modules, but eliminated one nozzle on each side.

Image hosted by Photobucket.com

One more thing added to the todo list:

two energy pack under the side modules.

HW

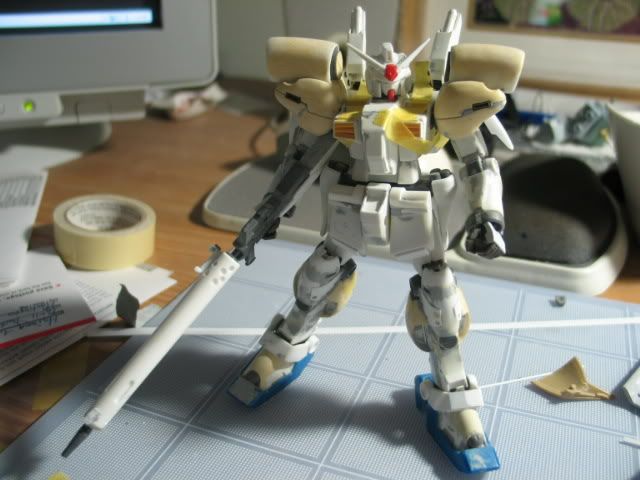
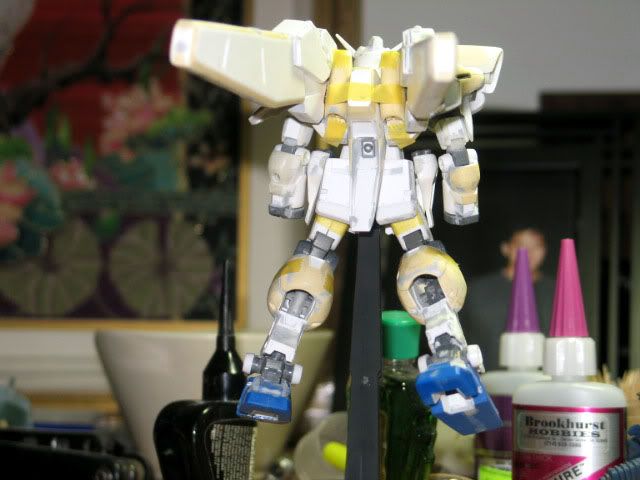
GPO4 inproge 6/6/05

This is a project I have been working on for a long time. So far everything looks good, but I have to do a better job of document the works.


Things to come:

1) Conversion of HGUC GP02Fb side skirt armor to GP04 style.

2) Conversion of HGUC GP02Fb back skirt armor to GP04 style.

3) Design and scratch of experimental GP04 backpack.

Image hosted by Photobucket.com