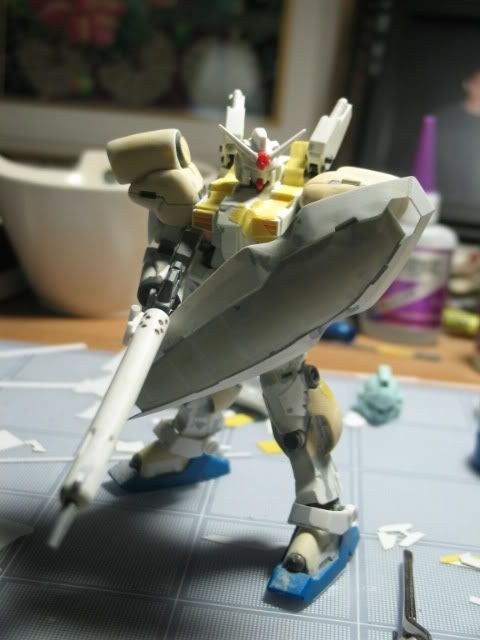
First step of a scratch build is to decide how to structure it. I will first build a base plate. Putty is used to build the curved surface in the center. Then the two sides are constructed.
Base plate:
I drew how the back of the shield would look like (base plate with the two sides) on a sheet of engineering paper with pencil. Left and right sides balance out. Then tape masking tapes onto the drawing and scratch it with your thumb nail to make sure the tape really sticks the pencil lead. Then strip the tapes and you will see the drawing is transfered onto the tape.
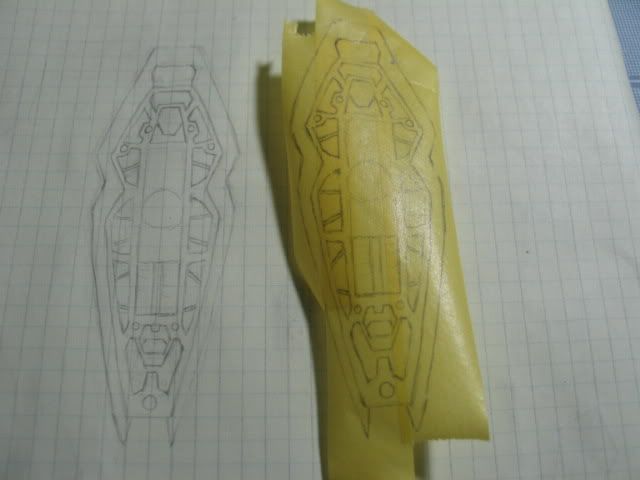
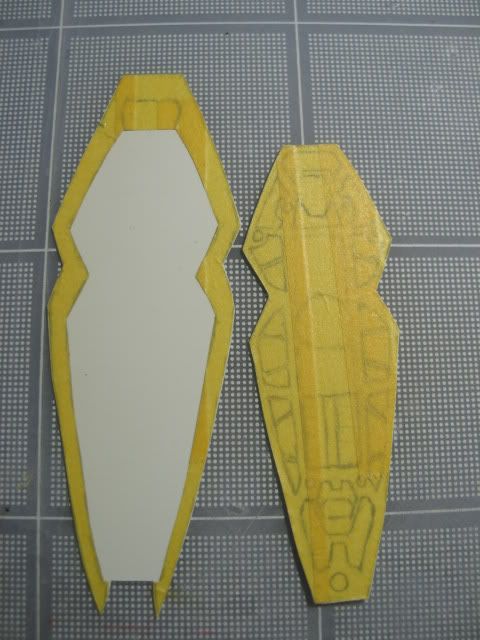
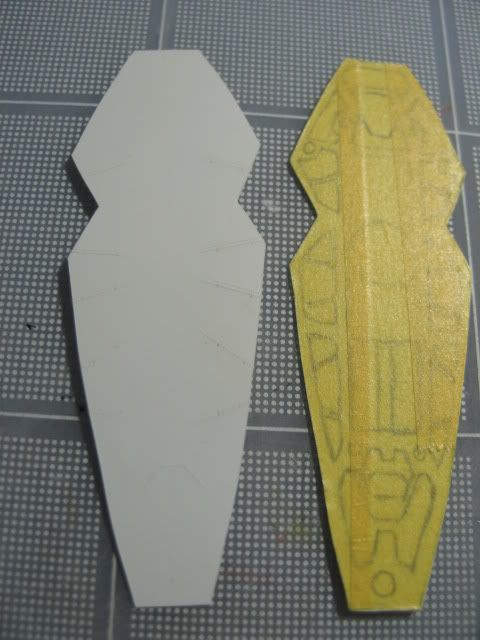
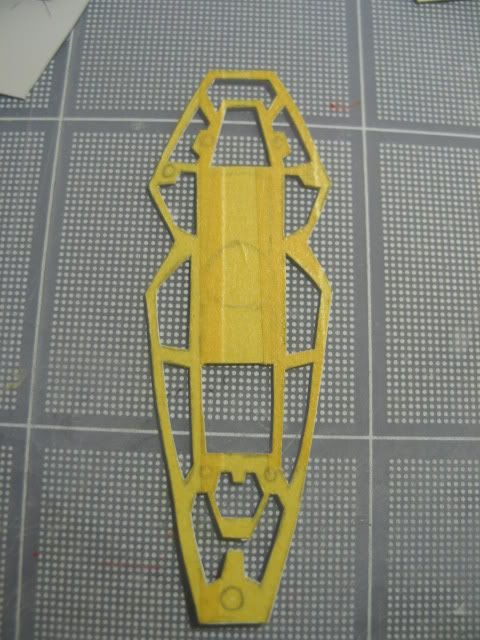
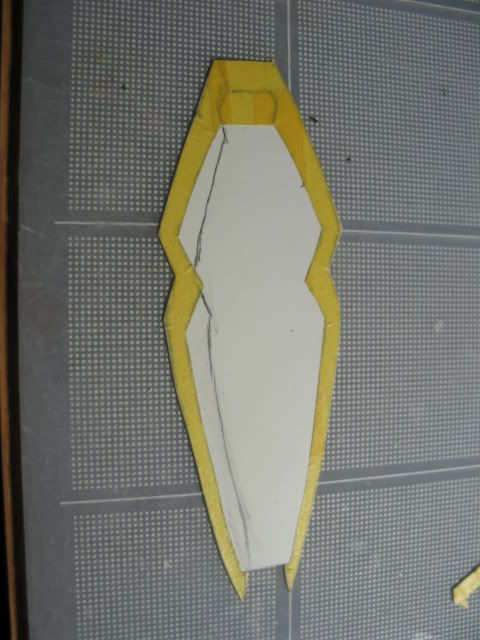
Transfer the tape onto a plastic sheet and start cutting out the shape you need. Always start with the largest shape. Here I cut out one entire shield shape, then cut two base plate shapes. The entire shield shape will be used for building the sides. The first base plate serve as the base structure. Notice I also scribe lines on the first plate for details. I then cut out all the small details from the second plate to create the struct design.
Curved center:
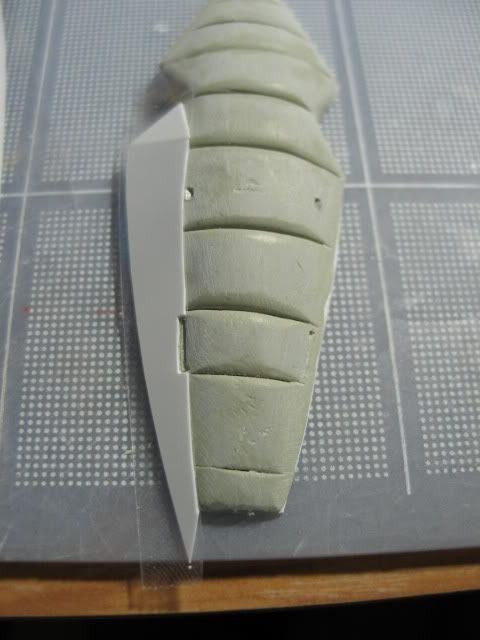
Glue the two plates together and leave it for several minutes to ensure good adhesion. Sand the back of the first base plate to roughen the surface and apply epoxy putty to create the curved surface. Epoxy putty shrinks and the base plate will curve upward (toward the puttied side) if no cuts are made on the putty shown below.

During curing, I take a rod and tape the curved surface on the top and bottom so the structure curves down. Once cured the structure remains curved toward the plate side.
Sides:
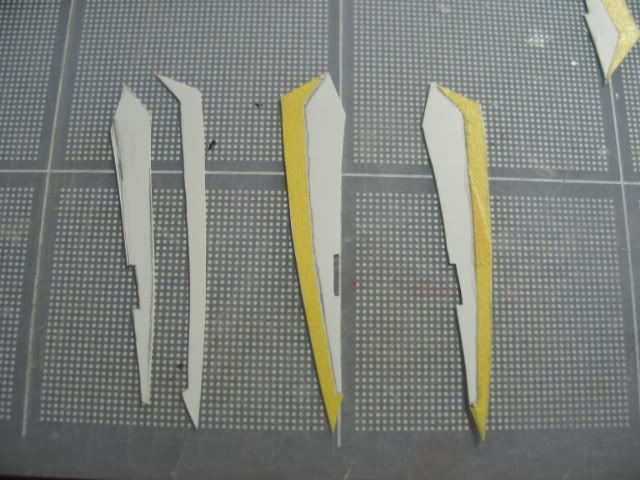
Take the entire shield shape and draw the side as it will appear on the front side of the shield. Notice I draw only the left side and make a cut out for it.
Use masking tape to make a copy of the shapes on both sides then cut the plastics using the masking tapes as guide.
Tape the masking tape on the curved center evenly and mark out the position with pencil then glue the actual plastic sides.
Finally, fill the cuts in the center. Once the putty cured, use hobby knive and emory board to round out the center.